

Hello everyone!
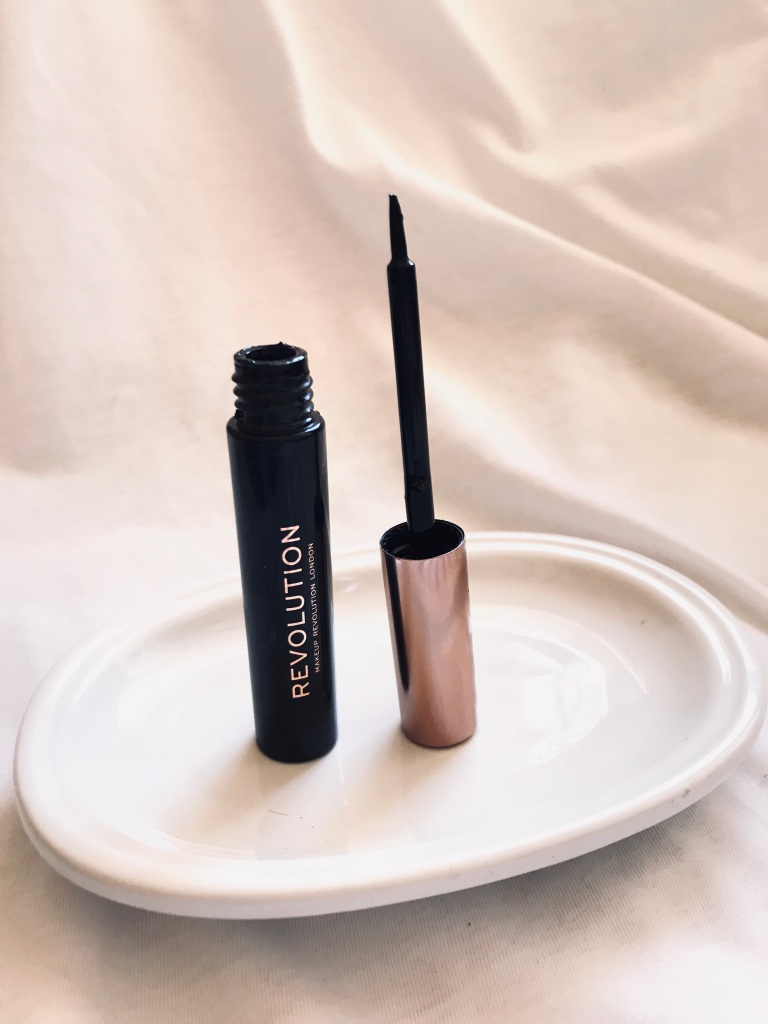
Welcome back to another review, today I will be reviewing the Revolution Brow Tint in Dark Brown. I have never tinted my brows with anything so this is also a first impressions review! I got this from Priceline, but you can also get it from ASOS and Beauty Bay I think.
So brow tinting what is it?
I first heard about DIY brow tinting from these Korean beauty products that were reviewed by Youtubers many years ago. As those brands were hard to get in Australia I didn’t try and buy them. Fast forward a few years and Maybelline released one! I was a bit hesitant on spending $24.95 on it, so I never tried, not even when it went on sale. I had heard that it fades into an odd ugly, like green or something so I avoided it. When Revolution hit Australia, I saw they had a brow tint as well and it was half the price of the Maybelline one! I purchased the dark brown (available in taupe and medium brown) and tried it out.
Brow tinting is essentially applying like a ‘temporary tattoo’ gel to your brows, waiting for it to dry and develop to a more intense colour, and then peeling off the dried gel and voila you are left with brows for the next 3 days or so.
First impressions:
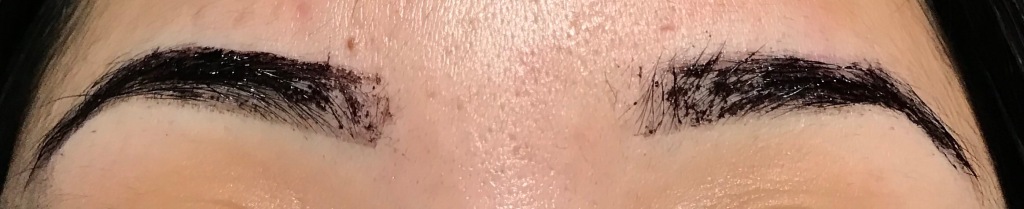
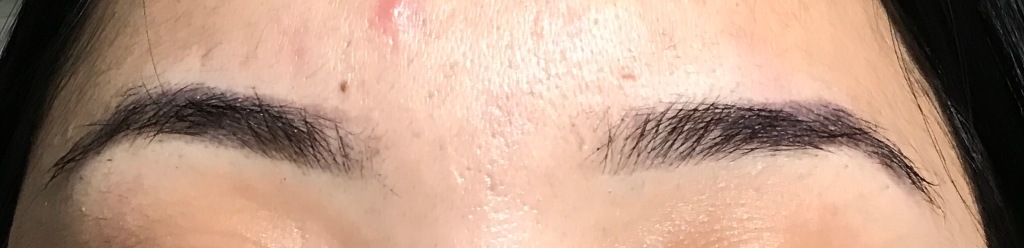
I put it on at night time, I only used what was on the brush (i.e. I didn’t dip back in again until I got to the next brow). I applied it in the shape of my brows, and wiped it around the edges if it got a little messy. I waited 2 hours for it develop, as per the instructions and then I used a spoolie to just ‘peel’ it off. It went pretty well and I was really surprised by the results!
They lasted about 2 days – as you wash your face/your brows come in contact with water/product, it will slightly fade.
As it started to fade, I just tinted them again and repeated the process whenever they started to fade.
They faded into a light brown and then it was all gone.
Check out the process below:

Tips:
- Make sure you shaped and tidied up your brows before hand
- Use a q tip or a cotton pad to go round it if you made any mistakes
- Go light handed around the front of your brows, because if you go heavy handed, when it’s dried it may look blocky
- Do them at night and wake up with brows!
- Wait the whole 2 hours to get the full effect of it
- They may look quite dark to you the next day because you’re not used to it, but they do look pretty natural – I’ve had customers and workmates asked me if I tattooed or filled my brows in, but it was just the tint!
So in short, it was a success! It’s only $12.50 at Priceline so I will definitely be repurchasing this once my current one runs out. I have tinted my brows every couple of days now because it saves me so much time in the morning! I got ready in about 10 minutes the other day because I already had my eyebrows on haha.
If you tried this out, tell me how it went! Or if you prefer another method/product, comment down below and I’ll check it out!
That’s all for today’s post, see you all next week!
With love


This sounds fabulous! I definitely want to give this a try. Thanks for the review xx
LikeLiked by 1 person
Thanks for reading! Tell me how it goes if you choose to try it 🙂
LikeLike