

Can you believe it’s July already! We’re half way into Winter and I can’t wait for it to be over!
Today I briefly talk about the giveaway, as well as give tips to start your own beauty instagram account or blogging account.
I’d like to thank everyone who entered my giveaway, it means a lot to me. I had over 30 entries, but it’s such a shame that many people weren’t following me but still tried to enter. The winner will be announced next week on my instagram. I’ll be hosting another giveaway when I reach 1000 followers! And there’ll be more prizes too…maybe even more winners as well! Stay tuned for that.
Now onto the main point of today’s post: tips to start your own beauty instagram account or beauty blog – part one.
Instagram:
- Motivation
What I mean by this is, that you HAVE TO be motivated in order to start either of these social platforms. You really need to have that inner drive and actually want to do it. Because once you start something, it has two options: it ends, or it keeps going – kind of like a relationship, you either break up or get married.
If the motivation and interest isn’t there, then they’re wasting your time to be honest.
Image from ‘An Architects Diary‘
Personally for me, when I started my instagram account I thought about it for weeks. I weighed the pros and cons and asked my boyfriend (at the time) whether or not I should do it. He supported me and encouraged me to do it. Finally one day I took the plunge and just made an account. That’s when I started my beauty journey.
TLDR: be motivated
2. Username/email
Now that you’ve found the motivation to start up your account, you’ll need a username and contact email for the account.
- If you already have a primary instagram account you’ll have to use another email for your secondary account.
- If the beauty account is your primary account, then use your primary email.
It’s good if you could link your email to your username i.e. have your email the same as your username. But that’s totally up to you!
When I first made my account I had to think of a new username and email that wasn’t taken and let me tell you, it wasn’t easy! I tried over 20 usernames and they were all taken. If any of you were following back in the day, you’d know my username was ‘hbtips’ which stood for ‘health and beauty tips’ because when I started that was what I wanted to do: share my health and beauty tips with everyone. Overtime, I stopped sharing the tips and just began doing more flatlays.
TLDR: choose an email and username best suited for you (and hope it isn’t taken!)
3. Who to follow
Now that you’ve created your account, you’re going to need to follow some accounts to keep yourself inspired by what others post as well as enjoy other peoples contents. At first you can follow hundreds of accounts to get a general idea of what kind of photos you like to see, and work that into what content you want to produce yourself. Then once you get to know your account and followers a bit better, you can unfollow the accounts that don’t interest you anymore – I know it seems kind of rude haha, but it makes sense right! I mean if you were eating a burger with pickles and you find that you no longer like pickles, you’d take the pickles out and continue eating the burger!
Don’t forget to follow some of your favourite brands/people!
- Youtubers
- Beauty bloggers
- Mecca Maxima
- Sephora
- Urban Decay
- etc
They’ll often post new product releases, sneak peeks, sales, giveaways, and more importantly, good content!
And some of the first people I followed were:
Alyshia and Jasmine , were some of the first people I followed when I created my account and I’m still following them today! They create such great content, and are such lovely ladies – if you’re not following them already, go check them out!
Image from ‘thedailycatchup‘
TLDR: follow (heaps of) accounts
4. Feed
Find out what feed and content you’d like to produce or focus more on: flatlays, motd, mini-reviews, etc.
When I started I did super basic flatlays, but that’s not a problem if you like those kind of flatlays! It’s always good to experiment with different photos or props. As I got more into instagramming, I changed up my style. I added:
- magazines
- paper stars
- mirrors
- notebooks


When I started Now
Do what suits you the most, you don’t have to copy or be like everyone else. I think everyone’s content is unique and should reflect what you like. If you like flowers, you might consider adding flowers in your flatlays. If you like doing makeup on yourself, then you may post different motd pictures. If you’re into doing mini reviews, you might post a nice flatlay and detail your thoughts on the product in the caption.
TLDR: Find the feed type that works for you
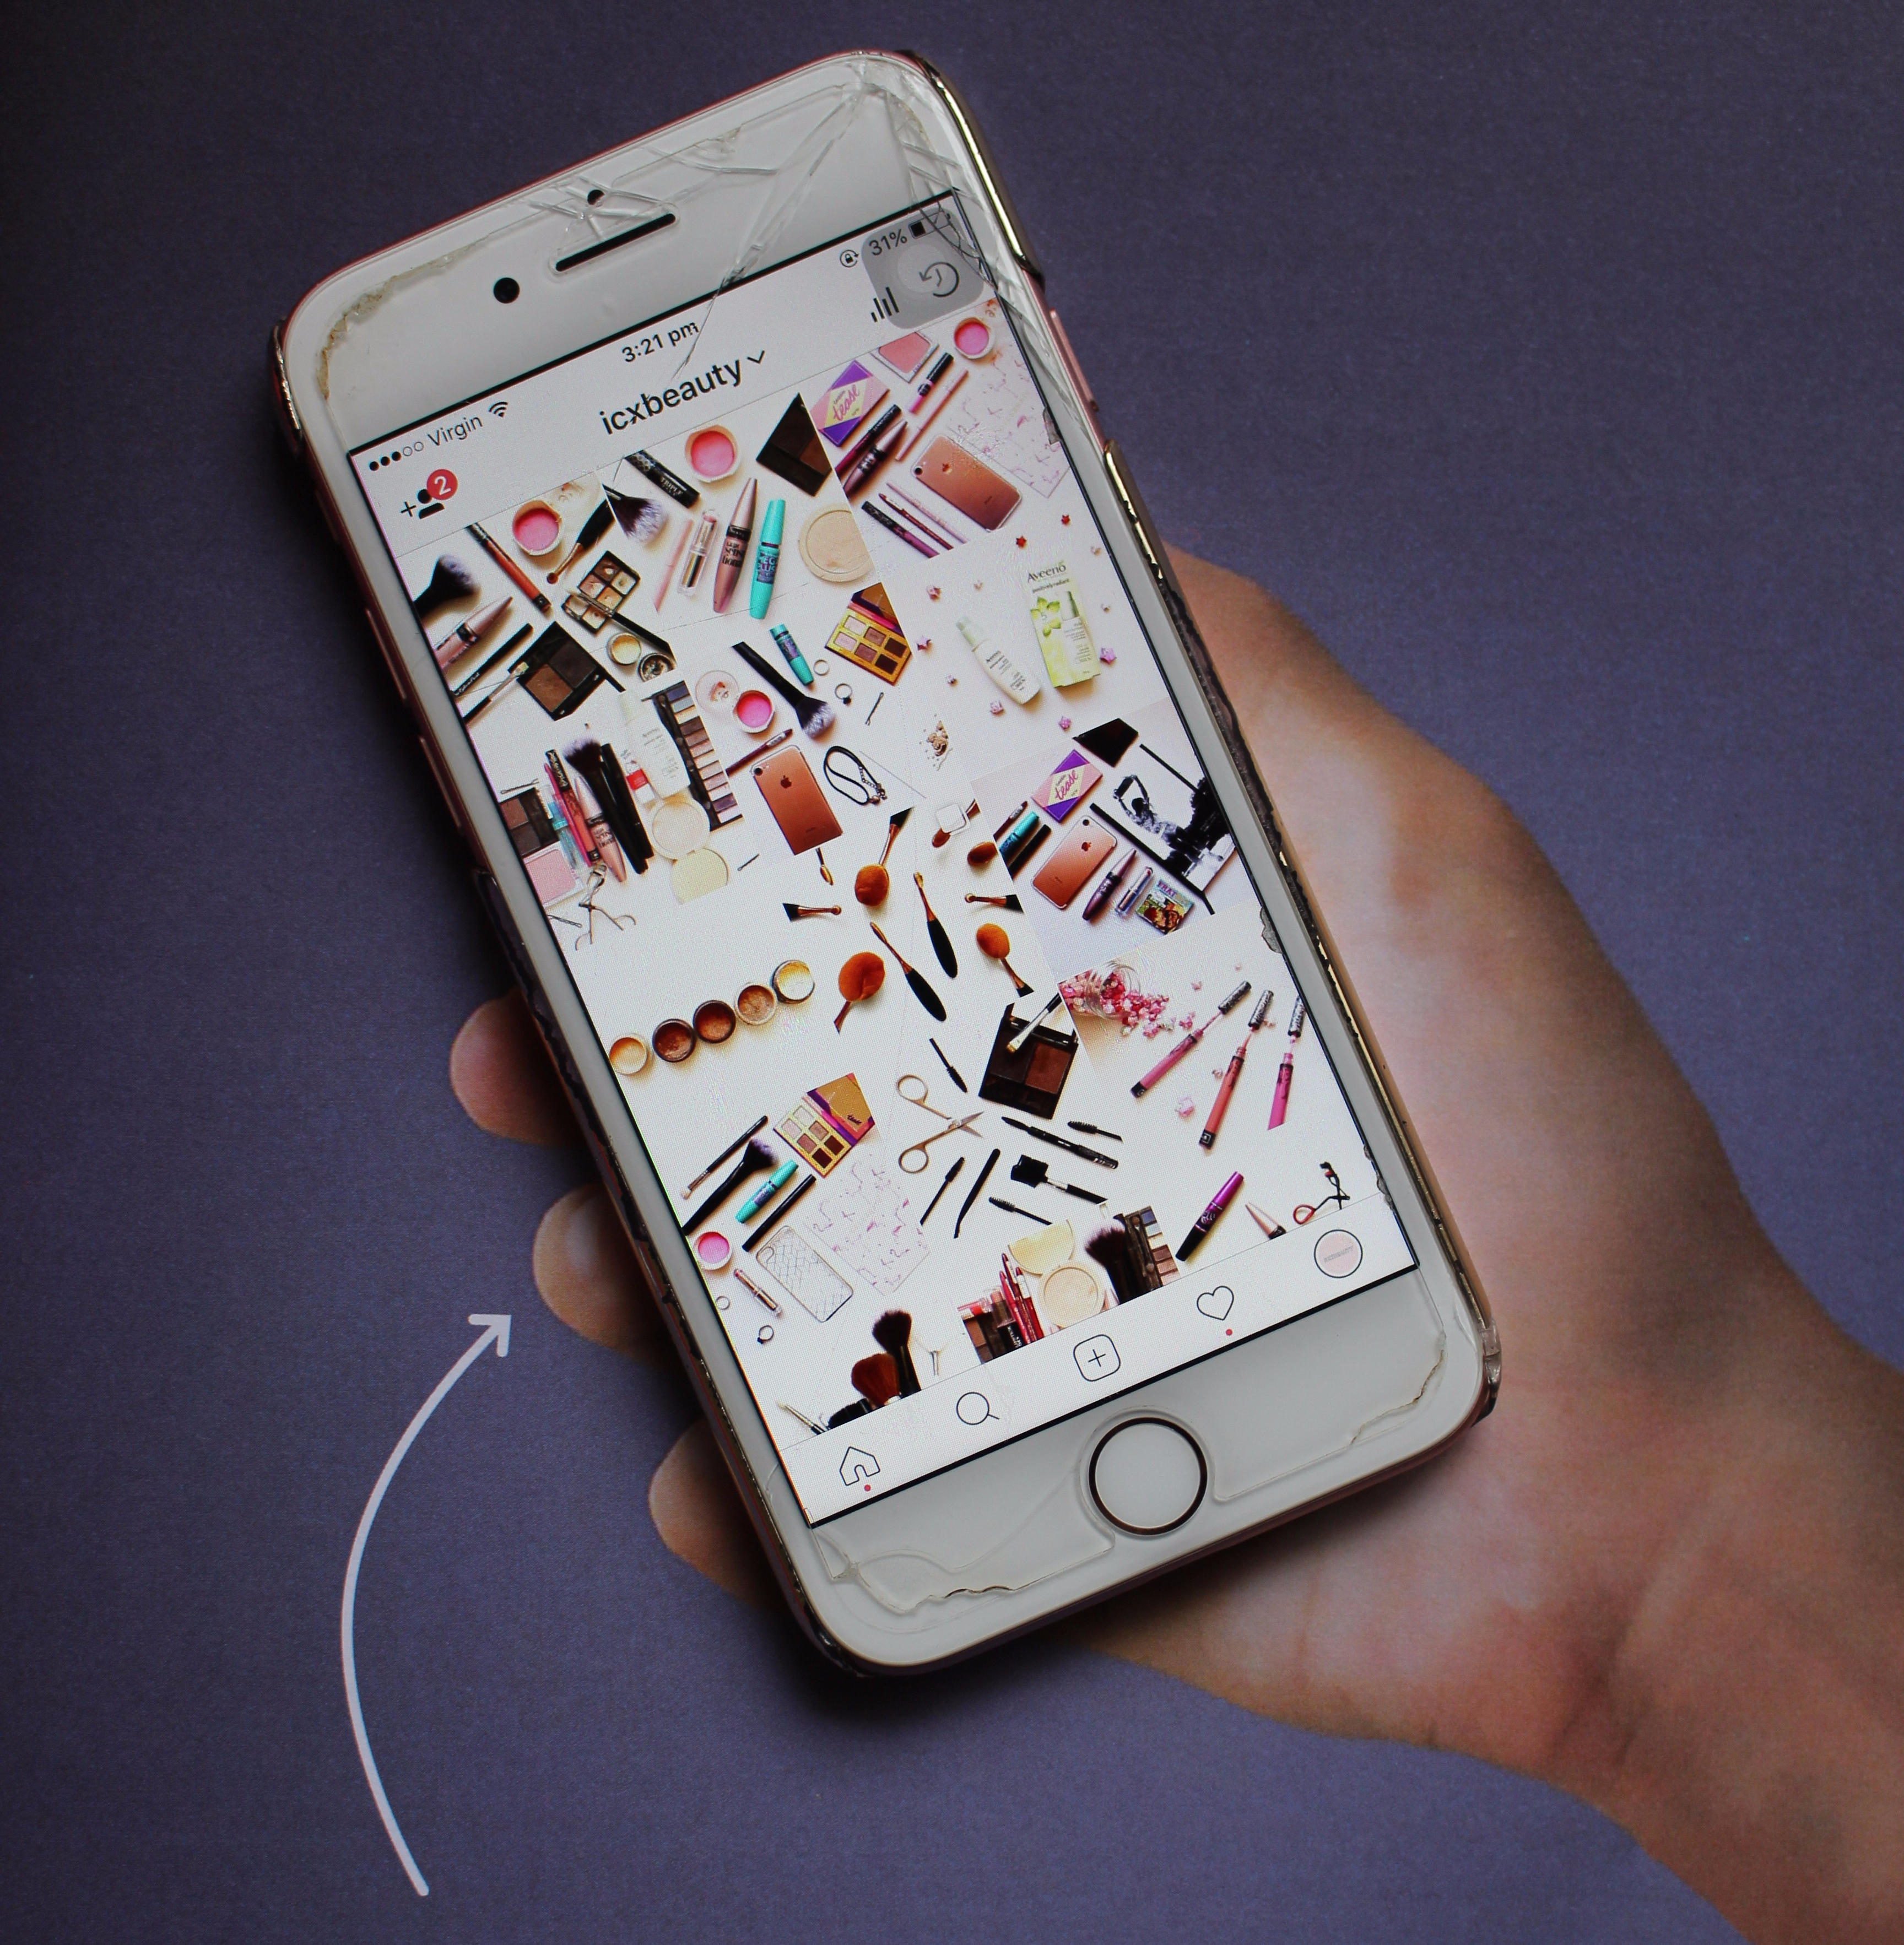
5. Photos
Now that you’ve sorted out what content you want to produce, it’s time to start taking some photos! You don’t need a fancy camera or anything like that, honestly a smartphone will do. When starting out a lot of people use their smartphones. When I started, I used my Iphone 5, the quality wasn’t too bad, but since then I got an Iphone 7, so I’ve been using that. I love shooting on my smartphone because:
- It’s convenient
Just whip out your phone and you’re ready to shoot
- It’s cheap
What I mean by this is you don’t need to purchase anything extra. E.g. you won’t need to purchase a DSLR or any other type of separate camera.
- Easy to use
It’s easy for me to control the settings so the photo turns out how I want it to.
Taken with my DSLR
As you become more experienced you may consider purchasing a camera, artificial lighting, sheets/cardboard to shoot on and other props to improve your photos. This is definitely up to you and not a compulsory thing! Just go at your own pace and find what’s right for you. If you are not financially capable of purchasing all this equipment at the moment, then that’s not a problem, your smartphone will do just fine. If you want to purchase this equipment but don’t have the money, then go ahead and save your money for it.
I have a DSLR (I didn’t buy it for blogging/instagram purposes) but I seldom use that for my photos. I’ve tried it before a few times, but I found the process quite time consuming and difficult because:
- Landscape photos
Unlike an Iphone, which has the ‘sqaure’ setting in the camera functions, DSLR only took landscape/portrait photos, which made it heard to measure out the ‘square’ to fit Instagram. You couldn’t 100% know whether a product was chopped off or not.
- Editing
You’d have to download the image onto your laptop or computer to edit it, whereas with an Iphone everything is done on the one device, simple as that!
- Heavy
My DSLR is bulky af haha! It’s quite heavy compared to my light as Iphone.
If you’d like to see what a camera + artificial lighting + editing looks like, just check out the photos below.


Laura and Elley both use a camera and artificial lighting to capture their photos. If you’d like more information about their photos, I’ve linked their accounts and you can message them about it!
TLDR: Smartphone camera is good enough, if you’re willing to buy a camera then go for it! Whatever works best for you!
6. Edit (optional)
The photos you have taken may not be as bright or as nice as you wanted them to be, so you take the extra step to edit them. Many instagram accounts edit their photos through apps on their phone, or through photoshop on their laptop/PC. They may adjust the warmth, lighting levels, exposure etc.
Personally, I just edit mine in the instagram editor because it’s easy and gets the job done. If you ‘d like more information on how to edit instagram photos click here. Sarah writes a very detailed and helpful post for those looking to change up their photos for instagram.
TLDR: Click here if you want to learn how to edit photos
7. Get started
Now that you’ve found motivation, created an account, followed hundreds of people, sorted out your feed and taken your photos (and edited them if you chose that extra step) it’s time to start posting and sharing your world of beauty with everyone else!
Part two coming next week for blogging! Stay tuned for that one 🙂
Thank you to everyone who let me feature them in this post, and thank you to all those that read another long ass Saturday post of mine. I really enjoy writing these as it allows me to communicate better and further with all of you, as I share my mind with you! These normally take me about over an hour to write, I know right, such a long time. But trust me the time flies once your fingers start hitting the keyboard. See you all back here next Wednesday for another beauty post! I have more exciting posts coming (that also need writing haha) and daily on my instagram account for flatlays! Enjoy your weekend xxx

Great tips! x
LikeLike
Thanks for reading! 💕
LikeLike
Hey love! It’s Jenn from Jennsbeautyroom on Insta. Taking my hat off to you for such an awesome blog post! I can relate to so many things in this post! Honestly it took me about a year on Instagram to figure out how it works, what my style was, and even what I wanted out of my page! Im still discovering and learning more as I continue on this beauty journey but at least now Ive found a rhythm. I love how Instagram challengess me, but most of all I love meeting wonderful people like you even though we’re across the world from eachother! Keep up the great work hun!
LikeLike
You’re so sweet! Everyone should go at their own pace to find what works best for them – nothing wrong with that! Thanks for reading 💗
LikeLike
Great tips! Loved this blog post!
LikeLike
Thank you!
LikeLike
Great blog and great tips!! I’ve been following @thedailycatchup for years, before I even thought abou starting myself. She is a lovely girl. Thankyou for sharing all your tips 💗
LikeLike
Thank you for reading! She is so lovely 💕
LikeLiked by 1 person
Thank you for the shout out! Great post, very helpful! Xx
LikeLike
You’re more than welcome! Thank you 💕
LikeLike